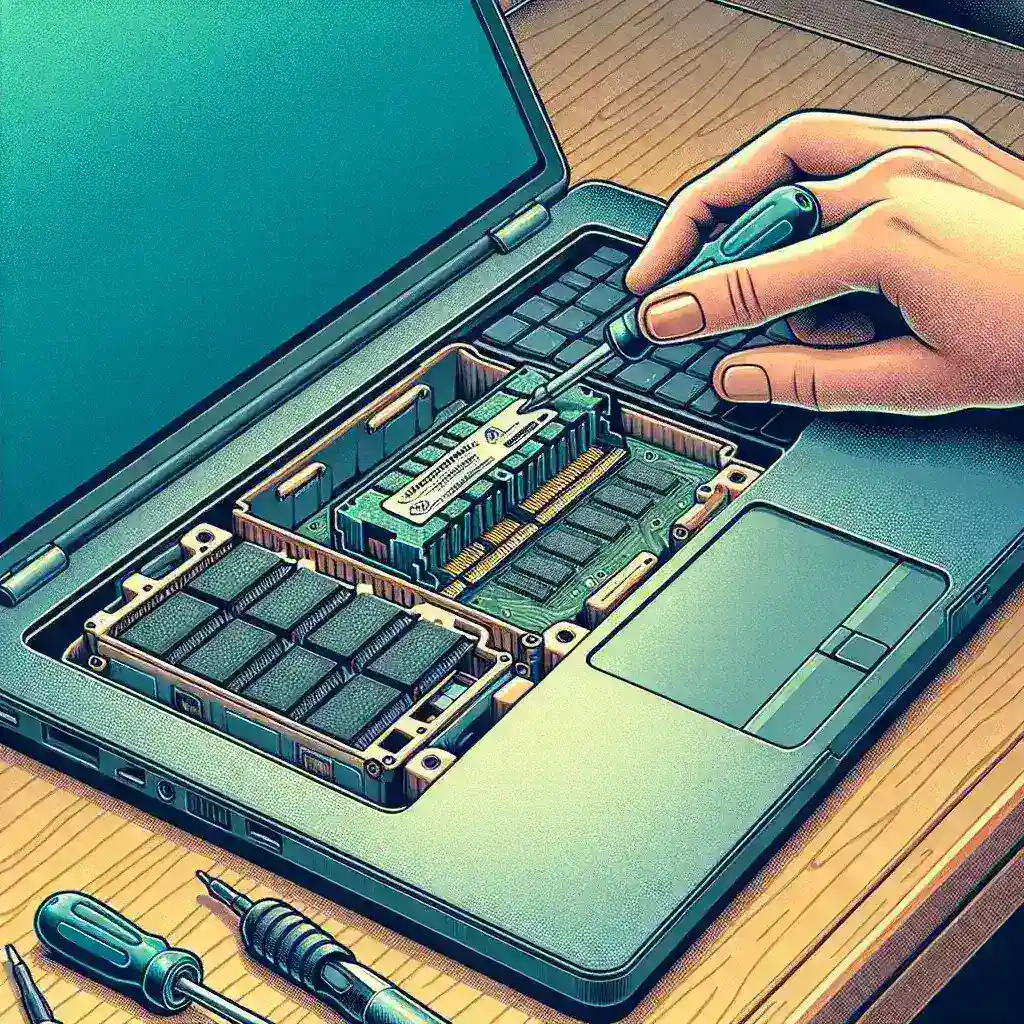
Upgrading your laptop’s RAM (Random Access Memory) can breathe new life into your device, significantly improving performance and multitasking capabilities. Whether you’re a gamer, a professional, or simply looking to extend your laptop’s functionalities, increasing the memory is one of the most cost-effective upgrades you can perform. This article will walk you through the steps on how to increase laptop memory by installing a new RAM module.
Why Upgrade Your Laptop RAM?
Before diving into the steps, let’s understand why upgrading your RAM is beneficial. Here are the key advantages:
- Improved Performance: More RAM helps the laptop run faster and more smoothly, especially when multitasking or running memory-intensive applications.
- Enhanced Multitasking: Experience fewer slowdowns when you have multiple applications opened simultaneously.
- Future-proofing: Extending the life of your laptop by keeping up with the increasing demands of software updates and new applications.
- Cost-Effective: Compared to buying a new laptop, upgrading RAM is much cheaper and delivers noticeable improvements.
Checking Compatibility
Before purchasing a new RAM module, ensure it’s compatible with your laptop. You need to check:
1. Maximum RAM Capacity
Different laptops have varying maximum RAM capacities. This information can generally be found in the user manual or manufacturer’s website.
2. RAM Type
RAM comes in various types like DDR3, DDR4, etc. Ensure you buy a module that matches the type supported by your laptop.
3. RAM Speed
Ensure the speed of the new module is compatible with your laptop’s specifications. This can usually be found in your existing RAM’s specifications.
4. Number of Slots
Laptops come with a limited number of slots for RAM modules. Determine how many slots are available and whether you need to replace an existing module or add a new one.
| Factor | Information |
|---|---|
| Maximum RAM Capacity | Depends on laptop model |
| RAM Type | DDR3, DDR4 |
| RAM Speed | 1600 MHz, 2133 MHz, etc. |
| Number of Slots | 1, 2, 4, etc. |
Tools Required
Before beginning, you’ll need a few tools:
- New RAM module
- Small screwdriver (Phillips-head)
- Anti-static wrist strap (optional but recommended to prevent static discharge)
- Owner’s manual (for reference)
Installing the New RAM
1. Power Down and Unplug
Ensure that your laptop is completely turned off and unplugged. Remove the battery if possible; this varies by laptop model.
2. Ground Yourself
Use an anti-static wrist strap or touch a grounded metal object to prevent any static damage to sensitive components.
3. Access the RAM Compartment
Locate the RAM compartment, usually at the back of the laptop. You may need to refer to your owner’s manual for specific instructions. Use the small screwdriver to remove the compartment cover.
4. Remove Existing RAM Module (if necessary)
Push the clips that hold the existing RAM module in place. Carefully pull the module out at an angle.
5. Insert the New RAM
Align the new RAM module with the slot. Gently, but firmly, push it into place at the same angle you removed the old one. The clips should click back into place, securing the module.
6. Close the Compartment
Once the RAM is securely in place, reattach the compartment cover and screw it back in. Make sure everything is fastened securely.
7. Power On
Reconnect the battery and power up your laptop. If the installation was successful, the system should recognize the new RAM immediately.
Post-Installation Steps
After installing your new RAM module, there are a few post-installation steps to ensure everything is working properly:
1. Check System Information
Navigate to your system settings to verify that the new RAM is being recognized. On Windows, go to ‘Control Panel’ > ‘System and Security’ > ‘System’. On a Mac, click the Apple logo > ‘About This Mac’.
2. Run a Memory Diagnostic
Use built-in tools like Windows Memory Diagnostic or third-party applications to check if your RAM is functioning properly.
3. Update Your Drivers
Sometimes, updating your system drivers can ensure optimal performance with your new RAM module.
Troubleshooting
If your laptop does not recognize the new RAM or there are startup issues, consider the following troubleshooting steps:
- Reseat the RAM Module: Sometimes the RAM module is not properly inserted. Remove it and carefully reinsert it.
- Check Compatibility: Ensure that the module is compatible with your laptop in terms of type, speed, and size.
- Update BIOS: In some cases, a BIOS update may be required for your laptop to recognize the new RAM.
Conclusion
Upgrading your laptop’s RAM is a straightforward process that can yield significant performance improvements. By following the above steps, you can increase your laptop’s memory, making it faster and more capable of handling multiple applications. Ensure you check compatibility, gather the necessary tools, and follow the installation steps carefully to achieve the best results.


