
Introduction
A failed power supply unit (PSU) can bring your PC to a complete halt. Knowing how to diagnose and replace a failed PC power supply is an essential skill for anyone looking to maintain or repair their computer. This guide will walk you through the necessary steps to identify power supply problems and provide detailed instructions on how to replace it.
Symptoms of a Failed PC Power Supply
Recognizing the symptoms of a failing power supply is the first step in diagnosis. Common symptoms can include:
- Inconsistent power (PC randomly shuts down or restarts)
- Computer fails to power on
- Frequent blue screen errors
- Overheating components
- Unusual noises from the PSU or inside the computer case
Table of Symptoms and Potential Causes
| Symptom | Potential Cause |
|---|---|
| Inconsistent power | Overloaded PSU or intermittent power supply failure |
| Fails to power on | Defective PSU, motherboard issue |
| Frequent blue screen errors | Insufficient power supply |
| Overheating | Faulty PSU fan |
| Unusual noises | Failing PSU components |
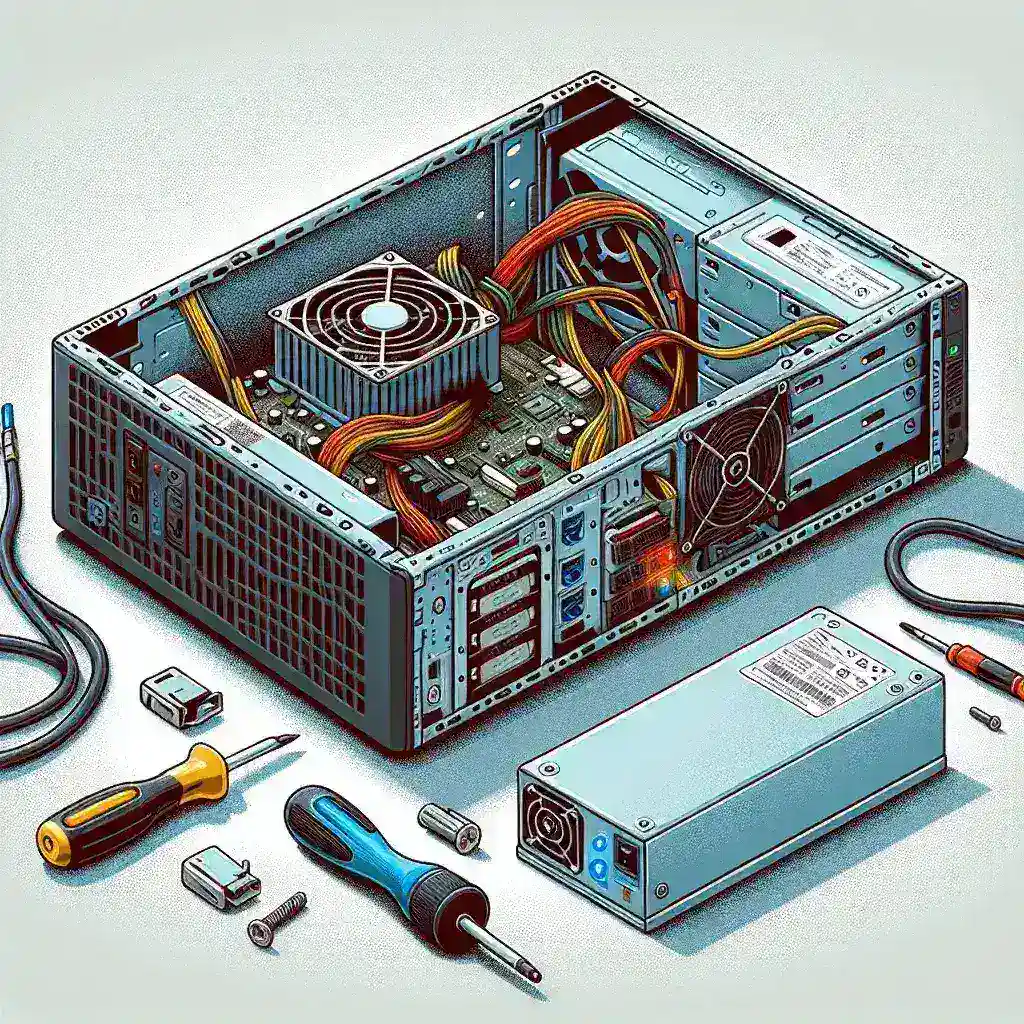
Tools Needed
- Phillips-head screwdriver
- Anti-static wrist strap
- Replacement power supply unit
- Cable ties
- Flashlight (optional)
Diagnosing a Power Supply Failure
1. Visual Inspection
Begin with a visual inspection. Look for any visible signs of damage, such as burnt components, frayed wires, or leaks from capacitors inside the PSU. While you’re at it, check for unpleasant odors that might indicate burning or overheating.
2. Testing the Power Supply
If no immediate issues are visible, it’s time to test the power supply. You can use a PSU tester or a multimeter. Here’s a quick guide on how to do it:
Using a PSU Tester
- Disconnect the PSU from all components except the tester.
- Connect the PSU to the tester according to the tester’s instructions.
- Power on the PSU and read the tester’s output. Abnormal readings suggest a failing PSU.
Using a Multimeter
- Power off and unplug your computer.
- Set the multimeter to measure DC voltage.
- Connect the black probe to any ground pin and the red probe to the power pins (3.3V, 5V, 12V).
- Check the readings against typical power supply voltages.
Steps to Replace a Failed Power Supply
1. Power Down and Unplug
Ensure your computer is completely powered down and unplugged from the electrical outlet.
2. Open the Case
Remove the side panel of your computer case using a Phillips-head screwdriver. Place the screws in a safe spot to avoid losing them.
3. Disconnect the PSU
Carefully detach all cables connected from the PSU to the motherboard, internal storage, and other components. Note the configuration for easier reinstallation.
4. Remove the Old PSU
Unscrew the PSU from its mounting bracket and slide it out of the case. Be mindful of any cables that may still be attached or caught.
5. Install the New PSU
Slide the new power supply into the mounting bracket and secure it with screws. Make sure the PSU’s fan/grill is positioned correctly for optimal airflow.
6. Reconnect Cables
Reconnect all cables from the new PSU to the motherboard, HDD/SSD, and any other components. Ensure that all connections are secure.
7. Close the Case
Replace the side panel and secure it with screws. Make sure no cables are pinched or obstructing any moving parts.
8. Power On
Plug your computer back into the electrical outlet and power it on. Check to see if it boots up normally.
Conclusion
By following this step-by-step guide, you can diagnose and replace a failed PC power supply with ease. Maintaining proper care of your power supply will help you avoid future issues and keep your computer running smoothly. Always remember to follow safety precautions when dealing with electronic components.