
Sharing real-time weather updates in your Instagram Stories adds an engaging layer of context, whether you’re showcasing a sun-drenched beach, braving a stormy hike, or simply letting followers know why you’re sipping hot coffee indoors. Instagram’s location-based weather stickers automatically pull in accurate conditions—temperature, sky icons, and even air quality updates—directly from your GPS data. In this comprehensive guide, you will learn how to enable location services, choose and customize weather stickers in your Stories, troubleshoot any hiccups, apply creative uses, integrate these stickers into a larger content strategy, and track performance, using tools like sssinstagram to save your favorite sticker templates and ideas.
Enabling Location Services and App Permissions
Before Instagram can display local weather, you must grant it permission to access your device’s location. On iOS, open your Settings app, scroll down to Instagram, tap Location, and choose “While Using the App” so that you only share your position during active Story creation. On Android, open Settings, tap Apps, select Instagram, then Permissions, and toggle on Location. Once enabled, the next time you open the Instagram camera or upload a photo, the app can pinpoint your city or neighborhood. A stable location fix ensures the weather data you display reflects your actual surroundings—key for maintaining trust and accuracy when followers tap into your Stories.
Accessing and Selecting the Weather Sticker
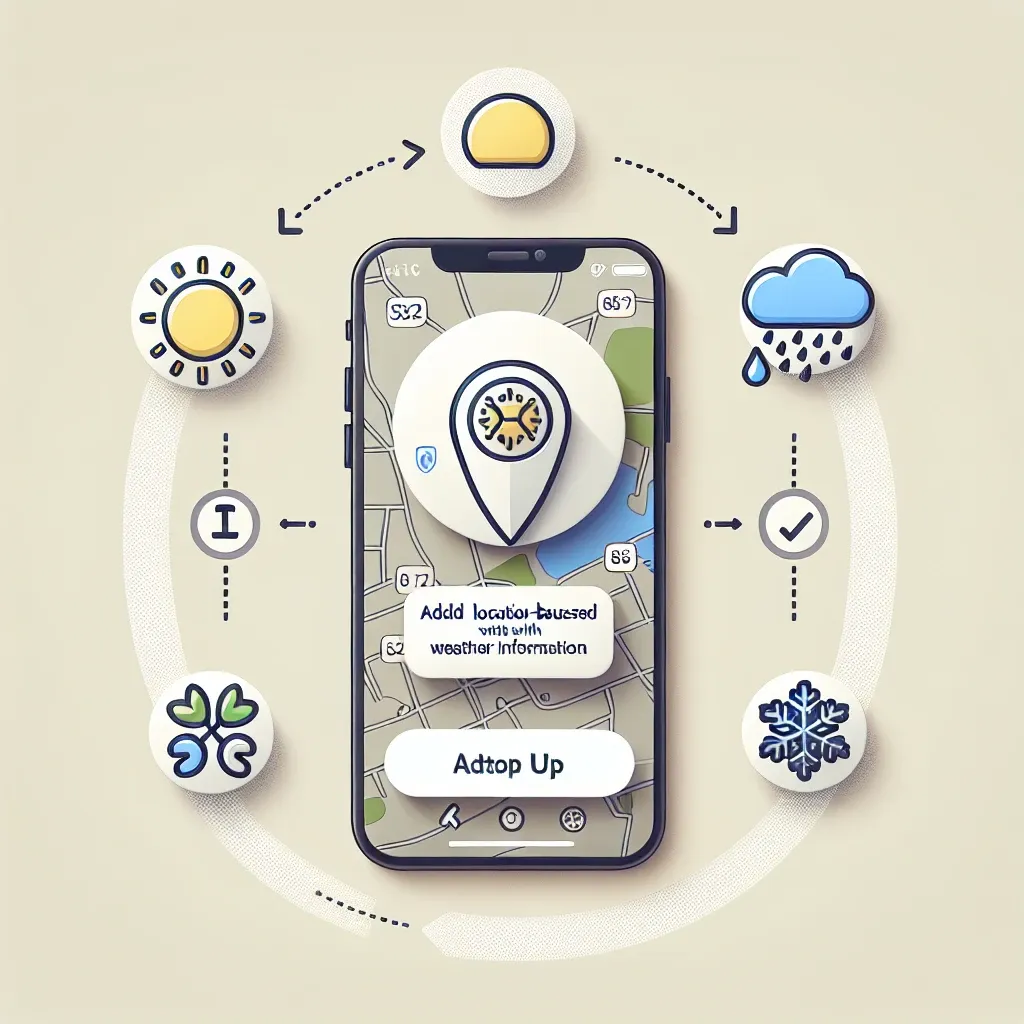
With location services active, open Instagram and swipe right to launch the Stories camera. Capture a new photo or upload existing media, then tap the sticker icon along the top of the screen. Look for the Weather sticker, typically grouped near “Location” and “GIFs.” You can also use the search bar above the sticker tray and type “weather” to filter options quickly. Instagram presents multiple designs: some display only temperature, others include an icon for sun, clouds, rain, or snow, and a few combine temperature with location name. Tap the preview of your preferred style to add it to your Story canvas. Instagram automatically populates this sticker with live data based on your GPS coordinates, so you don’t need to enter any information manually.
Customizing Sticker Appearance and Placement
Once the weather sticker appears on your Story, you can resize it by pinching and dragging to make it more or less prominent. Tap the sticker to cycle through background shapes—solid pill, transparent outline, or curved banner—depending on the design’s options. If you prefer Celsius instead of Fahrenheit, tap the temperature display once to toggle units. Position the sticker where it won’t obscure key elements of your photo or video; corners work best, especially the top-left or bottom-right, where viewer attention naturally wanders. For multi-clip Stories, keep the sticker placement consistent so followers quickly identify the weather update as they tap through each frame.
Troubleshooting Inaccurate or Stuck Data
Location-based stickers rely on an active internet connection and a fresh GPS lock. If the sticker shows the wrong city or an outdated temperature, first ensure your device’s location icon is visible in the status bar. If it isn’t, revisit your app permissions. Next, check your network: switch between Wi-Fi and cellular data to force a refresh. If the sticker still displays old information, close and reopen Instagram to reload the data. On rare occasions, toggling your device’s location service off and back on can reset the GPS lock. Should weather remain stuck, verify conditions in a dedicated weather app—discrepancies may arise if Instagram’s data source uses a different local weather station.
Creative Uses for Auto-Updating Weather Stickers
Beyond simply reporting the current conditions, weather stickers offer creative storytelling opportunities. Travel influencers can craft “Weather From Around the World” Story series, inviting followers to compare temperatures. Food bloggers might pair a chilly 5°C reading with a cozy soup recipe, while fitness coaches could use sunny 25°C updates to promote outdoor workouts. Brands can leverage weather stickers to drive flash sales—“It’s raining here, so enjoy 10% off our raincoats today only!”—or launch seasonal campaigns timed to specific temperature thresholds. By embedding weather data directly into your narrative, you create a richer, more immersive experience that resonates with followers’ real-time environments.
Integrating Weather Stories into Your Content Strategy
To maximize the impact of weather-based Stories, weave them into a broader editorial calendar. Schedule weekly “Weather Check-In” Stories using saved templates in sssinstagram, where you track your favorite sticker layouts and color palettes. Encourage audience interaction by pairing weather stickers with polls—“Is it too hot for ice cream at 32°C?”—or question boxes asking for users’ go-to rainy-day activities. If you find certain weather-related posts drive higher engagement, plan thematic series around those conditions: “Sunset Saturday” when skies clear, or “Snow Day Sunday” when temperatures drop below freezing. Monitoring performance in Instagram Insights reveals which weather-driven content your audience taps, taps forward, or exits, guiding future creative decisions.
By following these steps—granting precise location access, expertly selecting and customizing weather stickers, troubleshooting data issues, applying creative storytelling techniques, and embedding weather updates into a cohesive strategy—you’ll transform simple temperature overlays into compelling narrative devices. With sssinstagram serving as your template library and inspiration vault, your weather-infused Stories will feel fresh, informative, and visually consistent, keeping followers engaged rain or shine.